


This help guide will take you through the steps involved to successfully install and use the Voyager PACS Web Viewer on a Windows computer.
1. Open a web browser and go to the ‘Voyager Imaging Home Page’. Find ‘To Install Diagnostic Viewer with Desktop Shortcut (Windows)’ and click on the ‘Click Here’ link next to it (See image below).

2. The next screen will have a ‘Download Now’ link. Click it to download the installer – ‘VoyagerWebViewerSetup.exe’.

3. Once the installer has downloaded, run it. If you get a prompt stating ‘the publisher of VoyagerWebSetup.exe couldn’t be verified, ignore it by clicking ‘Run’.
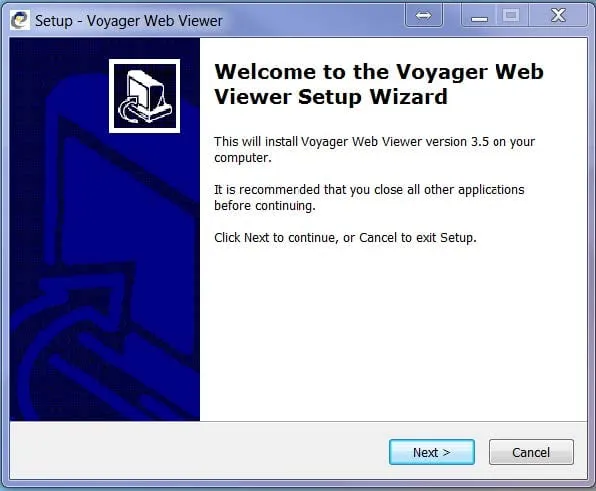
4. The ‘Voyager Web Viewer Setup Wizard’ will open up. To start the wizard, click ‘Next’.
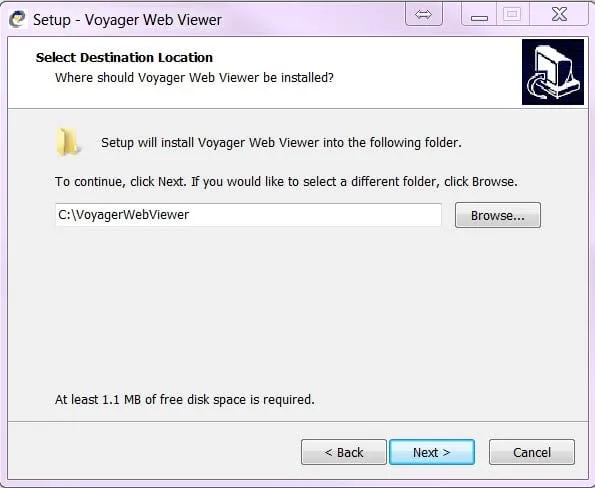
5. Under ‘Select Destination Location’ a default path will be displayed. If you would like to change the path click ‘Browse’ and choose another location that you would like Voyager Web Viewer to be installed. Once you are happy with the location for the install, click ‘Next’.
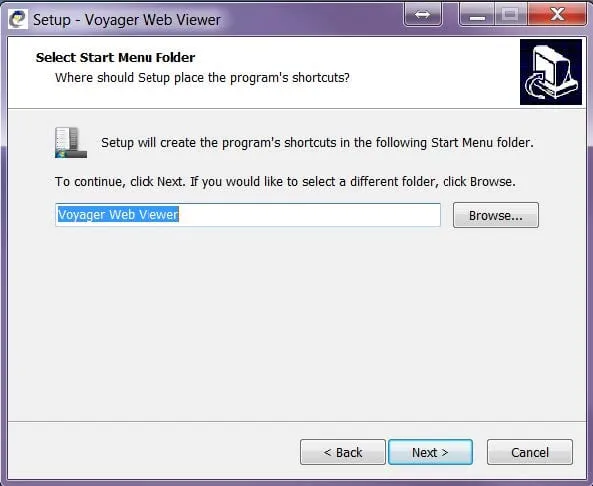
6. Under ‘Select Destination Location’ a default Start Menu Folder will be displayed. If you would like to change the folder click ‘Browse’ and choose another folder that you would like. Once you are happy with the folder, click ‘Next’.
7. Under ‘Select Additional Tasks’ check the box ‘Create a Desktop Icon’ and click ‘Next’.
8. On the next screen click the ‘Install’ button and this will start the installation process.
9. Once the installation is complete click ‘Finish’. This will close the Voyager Web Viewer Setup Wizard.
10. Go to your desktop and find the newly created ‘Voyager Web Viewer Icon’. Double click on it and it will open up the Voyager Web Client Loader.
11. Enter Server Name ‘https://images/adelaidemri.com/’ and click on ‘Launch Web3’. Files will be downloaded automatically and will launch Voyager PACS Web Viewer.
12. Enter your ‘Username’ and ‘Password’ to log onto Voyager PACS Web Viewer.
