This help guide will take you through the steps involved to successfully install and use the Voyager PACS Web Viewer on a Mac computer.
1. Open a web browser and go to the ‘Voyager Imaging Home Page’. Find ‘To Install Diagnostic Viewer For Mac’ and click on the ‘Click Here’ link next to it (See image below).

2. The next screen will have a ‘Voyager Imaging Web Loader’ link. Click it to download the zip file – ‘VoyagerImaging.dmg.zip’.
3. Once the zip file has downloaded, double click on it in the ‘Downloads’ folder. This will add ‘Voyager Imaging’ under ‘Devices’.
4. Run ‘Voyager Imaging’ and confirm to ‘Move to Application Folder’.
5. Open the ‘Applications’ folder and drag ‘Voyager Imaging’ to the ‘Dock Bar’ at the bottom of your screen.
6. Go to ‘Dock Bar’ and open ‘Voyager Imaging’.
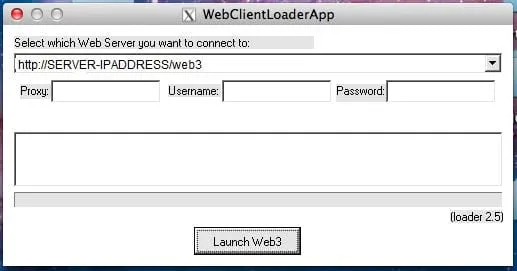
7. The ‘Voyager Web Launcher’ application will open up. Put the ‘Server Name’ as ‘https://images/adelaidemri.com’ and click ‘Launch Web3’.

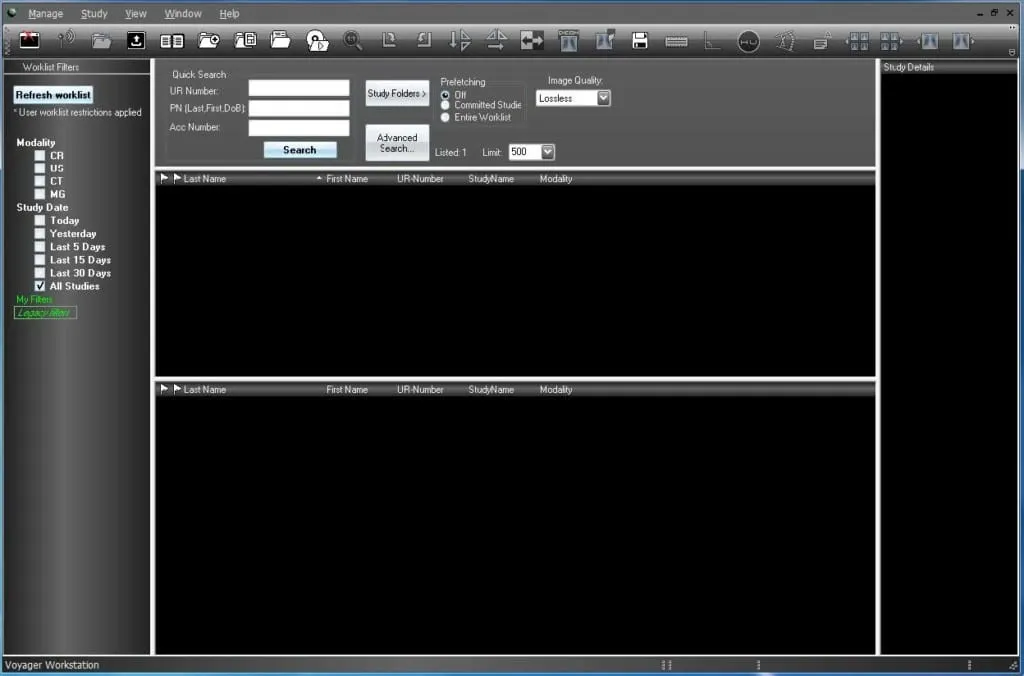
8. Once ‘Voyager Web’ loads up, put in your ‘Username’ and ‘Password’ and then click on ‘Login’.
9. Voyager Wevb will log into the server. Click on the relevant checkboxes on the left or go to ‘Quick Search’ at the top to find your patient’s images.


